Turn a part on the lathe
When to use a lathe?
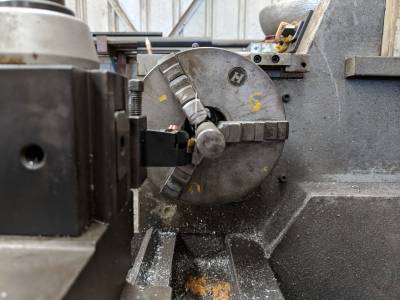
The Lathe is known as the mother of machine tools, it is needed to make most other machine tools. If you need a part that is round then the lathe is the tool for you.
Job Plan
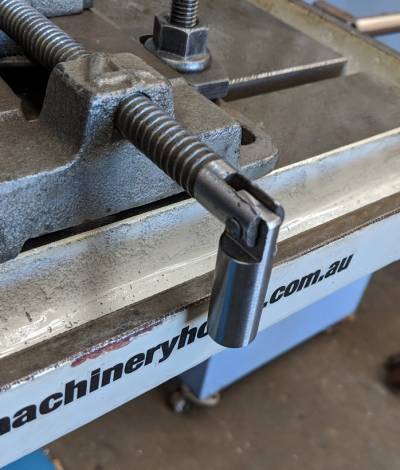
I am going to make a new handle for the vice on the drill press.
First thing is sketching the part.
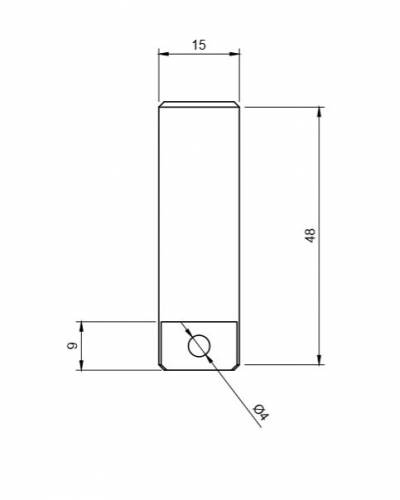
Once you know what you want to make, it is best practice to make a job plan.
A job plan consists of all the operations (steps) you will go through from start to finish, what stock to use, how you will hold the work piece, tooling required and the feeds/speeds you will be using.
Stock
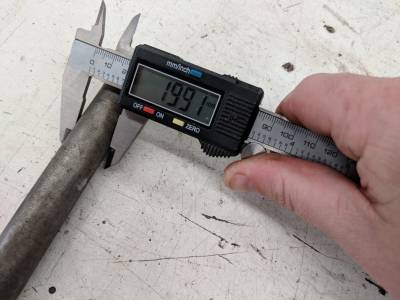
I had a piece 20mm round bar that would be perfect for this job. it was already small enough but if it was too long then it could be cut down finish size plus 50mm for work holding and finish cutting.
Work Holding
There are many different ways to hold the stock on a lathe, the most simple to use is the “Self Centering” 3 Jaw chuck. It is fast to set up but isn't very accurate when concentricity is required. As this part will be machined in one setup a 3 jaw is perfect.

Required Tools
We know that we need to turn it down to size, we need to put a chamfer on both ends and we need a way to cut it off from the rest of the stock (Parting off).
I have selected the following tools.
1 x Carbide turning insert + Holder. 1 X HSS 45 Chamfering tool. 1 X HSS Part off blade + Holder
Feeds and Speeds
Every materiel has a speed at which it will sheer if contacted by a harder materiel. To work out what speed to turn your part at is very simple. all you need to know is the “Cutting speed” of your materiel + tool. For example, my Carbide inserts have a Cutting speed of 120 m/min. This can be put into a simple formula to work out your required RPMS. (C/S X 320) / Diameter of work.
So in this example, (120 X 320) / 20 = 1920 RPM
HSS is not as hard as carbide therefor its C/S is lower (approx 4 times).
(30 x 320) / 20 = 480
Now, because these are “Form” turning tools (they impart their form of the work not cut cut materiel) you need to slow them down even more. Approximately 3/5th.
0.6 x 480 = 288
Now, The Lathes we have do not have precise speed controls so we will need to select the closest speed to our calculations.
1920 RPM = 1600 288 RPM = 300
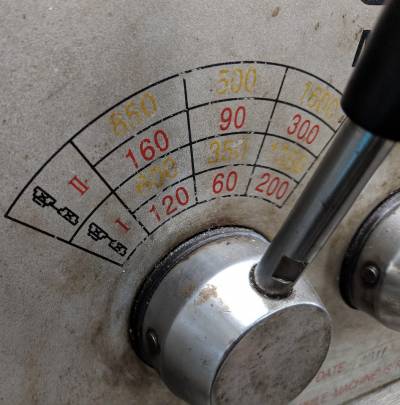
I like to run a feed of 0.2mm/rev which I find gives me a good finish.
With all that information we are now ready to turn out part!
Set Up
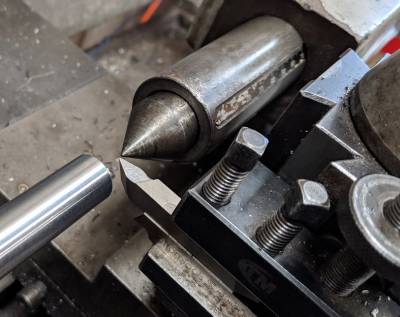
The two most important things in turning are rigidity of your setup and center height of your tool. We will start with rigidity. You want your tool to be as close to the tool post as possible the smallest vibration in the tool holder will ruin your surface finish and destroy your tool. Now onto “center height”, Lathe tooling is deigned to cut at the widest part of the materiel, being the center of the part. There are many ways to ensure your tool is in the correct position. You can use a rule or small sheet put in-between your toll and the work piece. If the rule is straight up and down then the tool is contacting in the center.
You can also line your tool up to a center in the tailstock.
Turning (Finally)
Now that we have our work in Lathe, our tool set to the correct height and our speed selected we can start making chips.
There are three Handwheel we need to use;
Apron Handwheel (Controls right and left movement) Cross Slide Handwheel (Controls movement in and out) Top Slide Handwheel (used for fine movement and taper turning)
There is also a feed engage lever. This lever is used to drive either the Apron or the Cross slide a set amount based on gearing “feed rate”.
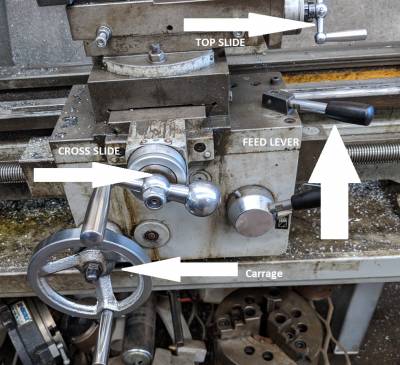
Start with small cuts (0.2mm) until you get the fell for it. Better to get a bad surface finish then ruin your part or tool!
Measure lots and once you have gotten you work to the correct size and shape you can part your job off.
When parting off make sure the part off tool is square to the job.
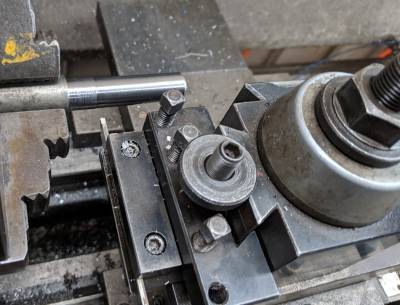
Now that you have parted off your job you will need to clean up (face) the back side of your part.

Mount the part and face off/chamfer end.
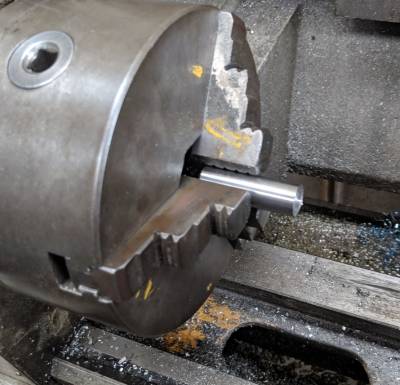
Congratulations you have finished your first lathe job.
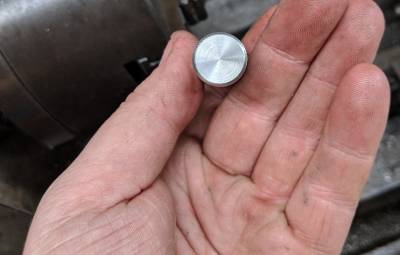
After some Milling the part is done.
