This is an old revision of the document!
3D Printers
Never leave any filament 3D printer running unattended. They are all capable of burning down HSBNE if something goes wrong.
![]() These machines are maintained by members of the Digital Fabrication Cause. Please speak with the listed maintainer before trying to maintain them.
These machines are maintained by members of the Digital Fabrication Cause. Please speak with the listed maintainer before trying to maintain them.
3D Printer Experts
These people know the ins and outs of 3D printing and are generally happy to help out when needed:
- Steph Piper (@sjpiper145)
- Brendan Halliday (@nogthree)
- Aaron Bycroft (@Sgt.Dicks)
- Drew Spriggs (@dreadnought_strength)
- Jaimyn Mayer (@jabelone) (currently time poor and too busy to assist :( )
If you consider yourself in the know, add yourself to the list! (but ask one of us first so we can keep track)
How to use HSBNE's 3D Printers
Currently all of HSBNE's 3D printers have Octoprint set up on a Raspberry Pi thanks to James (pelrun). This allows anyone to easily start a print and control the printer from a web browser. It helps to have your .STL model oriented properly to begin with, but you can rotate/scale it after you upload it to the printer. If you're designing your own parts, please read the design tips below. Please read these steps carefully and follow them every time you want to use a printer:
1) Make sure the bench and “clean area” surrounding the printers is free from rubbish, plastic scraps and any non 3D printer related tools. Do not start printing until this area is spotless. If the area is not cleaned and a printer gets caught/jammed etc, you may be held responsible for any damage. Click the photo below for a “clean” reference picture. Also make sure the print bed is completely clear of any scraps or old print jobs. Check that there is nothing in the way of any of the movement areas of the printer. (cables, tools etc)

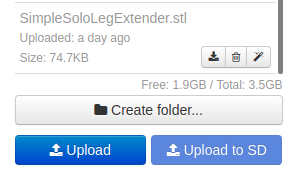
2) Now you're ready to upload the .STL file to the printer, in a browser go to the Internal Address for the printer you want to use (they're listed at the bottom of this page). Once ready, select the blue 'Upload' button on the web page. It will then prompt you to select the file you wish to print. Tip: the Internal Address only works while you're on site and connected to HSBNE's Wired or Wireless network.
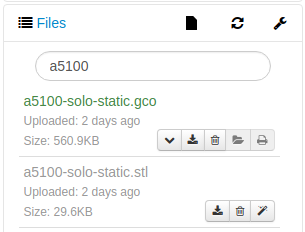
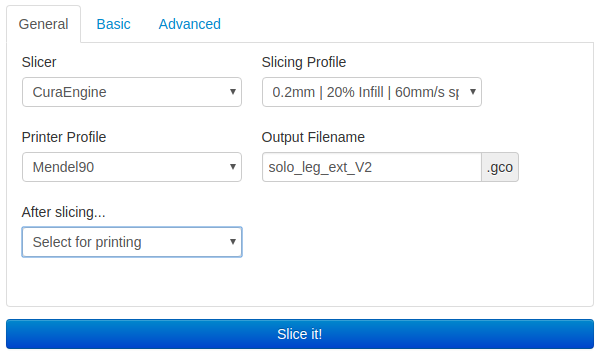
3) Once uploaded, you have to slice the model into G-Code (3D printer instructions). If it doesn't prompt you to begin slicing, click the “magic wand” icon in the files list on the left. Select a slicing profile that matches your needs and then make sure “After slicing” is set to “Select For Printing” (if in doubt ask an expert or leave the default choice). This video is a good guide to the Octoprint process. Octoprint will now slice the print, this may take some time as the donated Raspberry Pi computers we have are older models. Please be patient and don't do anything else on Octoprint until it's finished.
3a) Skip this step if you don't need to rotate/scale a model. Rotating or scaling a model can be done in the Octoprint interface. In the 3D view, just click on the 3D model then use the buttons on the left to scale or rotate it. Read “HSBNE 3D Printer Design Tips” below for the best orientation if you need some help. You will need to re slice your model by clicking the slice button.
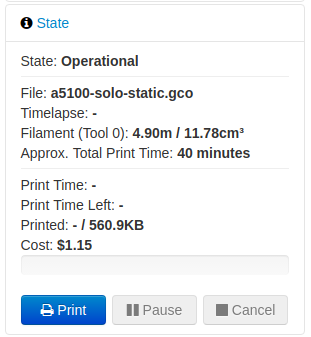
4) Take a look at the printer you're using and make sure it's got enough filament loaded in it. On the top left of Octoprint (image below) you'll see some info about your print job. You'll need to guesstimate how much filament is on the printer and add some more if it's less than Octoprint's estimated length in metres. Tip: If it looks like it will run out halfway through an already started print, come and get a 3D printer expert to add some more mid print - do not start with too little filament intentionally.
5) Double check the print bed and movement areas around the printer are completely clear of rubbish, tools etc. Click the blue “Print” button at the top left. The printer will preheat to the correct temperature and automatically home. It's important at this point to watch it print the first layer and make sure it does so successfully. If the first layer fails, stop the print from Octoprint, clean up and start again. If it fails again, ask one of the 3D printer experts for some help.
6) You can now let the printer do it's work. You should check in on it at least every 10-15 minutes to make sure it's still printing well, but the more often you can check it the better. You must stay on site the entire time you have a print job running. If you need to leave, you must either cancel the print job or ask someone else to keep an eye on it for you. The hot end routinely reaches a temperature above the flash point of paper and dust, which if accidentally blown onto the printer could start a fire. We don't want the printer to catch fire or damage itself while you're not there.
7) Once your print is done, you will need to remove it. We recommend using a pair of side-cutters to push the print up off the bed. Simply put them flat on the print bed and close them around a corner of the print.
8) Once you've done this, check the estimated price (top left of Octoprint) for your job and pop that amount into the donation tin. These machines are run at a loss, so if you don't leave a donation we can't afford to maintain the printers and replace filament. (it's about $50 per kg!)
9) Clean up - normally the prints will come off cleanly, however if you used glue or another adhesive please clean them off completely. If there are any bits of your print job stuck to the bed, they should come off too. Never put water on a hot bed as there is a high chance the glass will shatter from the sudden temperature difference. If you need to use water to clean it, let the print bed cool down first.
HSBNE 3D Printer Design Tips
If you follow these basic design tips when creating 3D models, you'll get the best results:
- Avoid overhangs - the printers work by building up plastic layer by layer, it can't lay down plastic into thin air! (or can it?)
- Shallow overhangs are OK - anything steeper than about 30 degrees from vertical will have poor results. (ie |/ between those two lines should be <30 degrees)
- Use “Bridges” - if you have a gap between two sections (ie |-|) it can normally be “bridged” as it's supported on both sides. Bridges <1-2cm work best.
- The vertical (Z) axis is weakest due to the layered design. Try to design parts with the X/Y axis bending/taking the force instead of the Z axis. Think of Lego blocks, it's much harder to break a single long piece than a tall stack of short pieces.
- If you need something to fit together exactly, make it slightly bigger or smaller than necessary, depending on how it's supposed to fit. 3D printed parts generally don't produce 100% dimensionally accurate parts (but are pretty darn close for most stuff).
- Don't be afraid to use bearings, screws and nuts/bolts. If something needs to turn use a bearing, plastic on plastic isn't smooth and won't last. If you need to attach parts to each other or something else, using screws or nuts/bolts is fine. (remember the tip above, try to clamp/compress layers, not split them)
How to help the maintainers (and possibly become one)
HSBNE's fleet of 3D printers are maintained by members who volunteer their time to keep the machines working so that you can print things. All of our printers have personalities and battle-scars, so before you do anything to maintain them it's worth checking with the maintainer first. There could be specific models for replacement parts that you need.
When using the 3D printers it helps the maintainers if you clean the bed when you're done, a wipe-down with some IPA will clean the bed on the Taz, the chang-yi i3 and the space-i2. On the pelrun-i2 you will need to speak to James as this is his personal machine on loan to HSBNE.
Try not to leave any debris or print detritus around the printers too, as they may get caught up in the mechanical parts, and mess attracts more mess. Don't see a profile that works for your printing needs? Check out the Octoprint Configurations below.
3d Printers
Space Taz 5
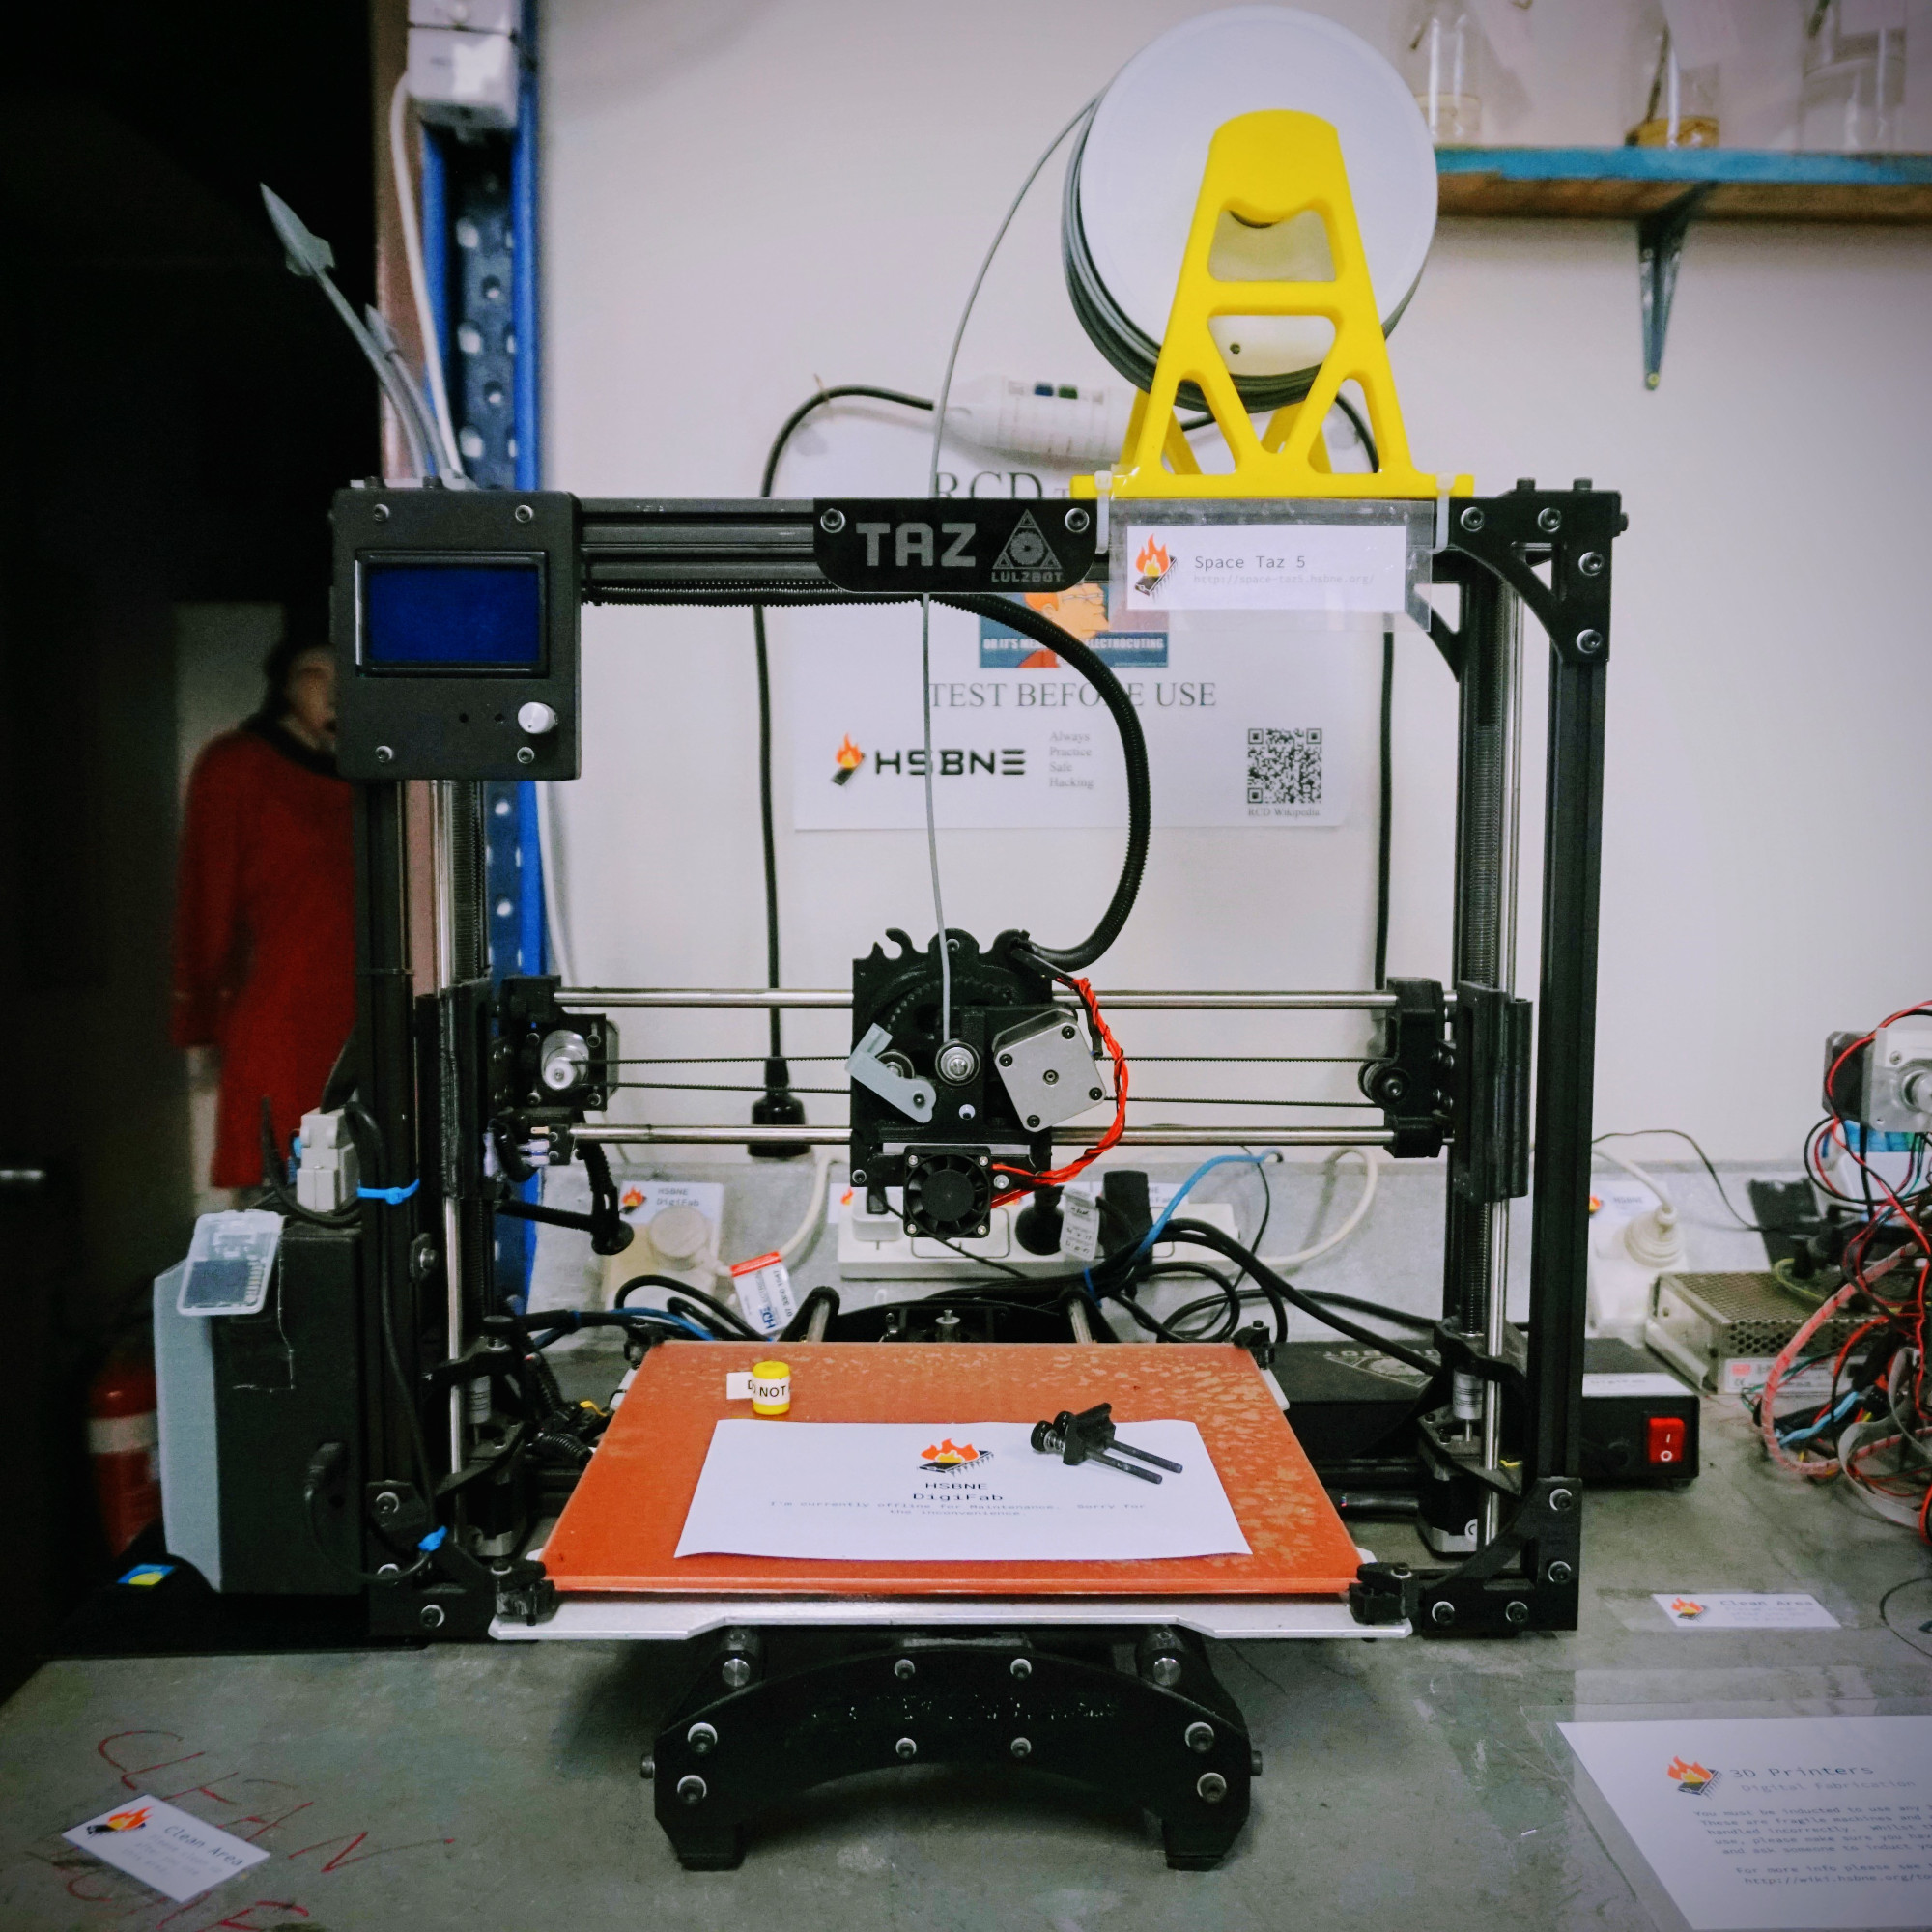
Internal Address: http://space-taz5.hsbne.org/ (http://10.0.1.154/)
Maintainers: Drew Spriggs, Jaimyn Mayer (previously)
Left CR-10

Internal Address: http://left-cr10.hsbne.org/ (http://10.0.1.153/)
Maintainers: Drew Spriggs, Jaimyn Mayer (previously)
Right CR-10
Internal Address: http://right-cr10.hsbne.org/ (http://10.0.1.153/)
Maintainers: Drew Spriggs, Jaimyn Mayer (previously)
Octoprint Configurations
Octoprint is set up on each machine to use Cura as its slicer.
The slicing profiles for each machine are stored in their own branches in this github repo: Configuration files for our 3D printers
Cron Job
This cron job will remove all print files older than 7 days. Without it, the Octoprint interface fills up very quickly. It's here for reference:
# Remove all stl/gcode files older than 7 days
0 0 * * * find /home/pi/.octoprint/uploads -mindepth 1 -mtime +7 -delete
- tools/digitalfabrication/3dprinters/home.1563519822
- Last modified: 5 years ago
- (external edit)